

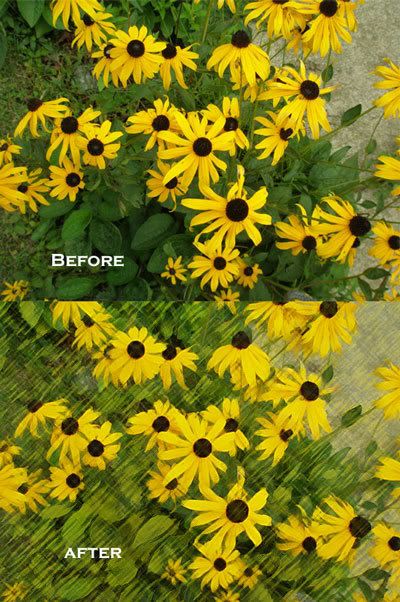
 click on photos to enlarge
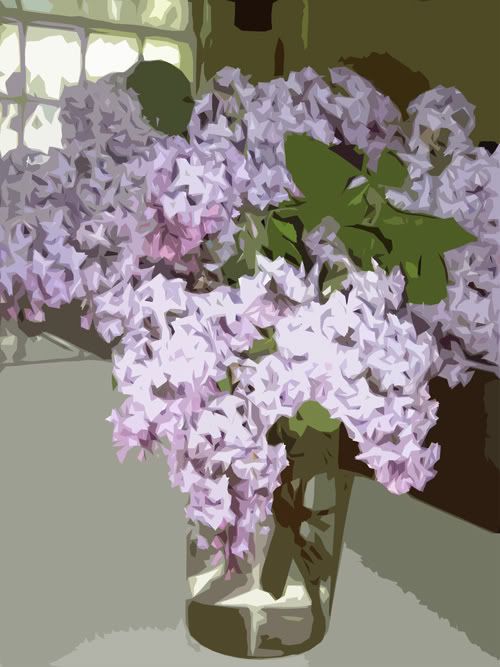
Filter Friday again! This week the filter is cutout. I think this filter is pretty cool. It gives photos a cartoon or artsy look.
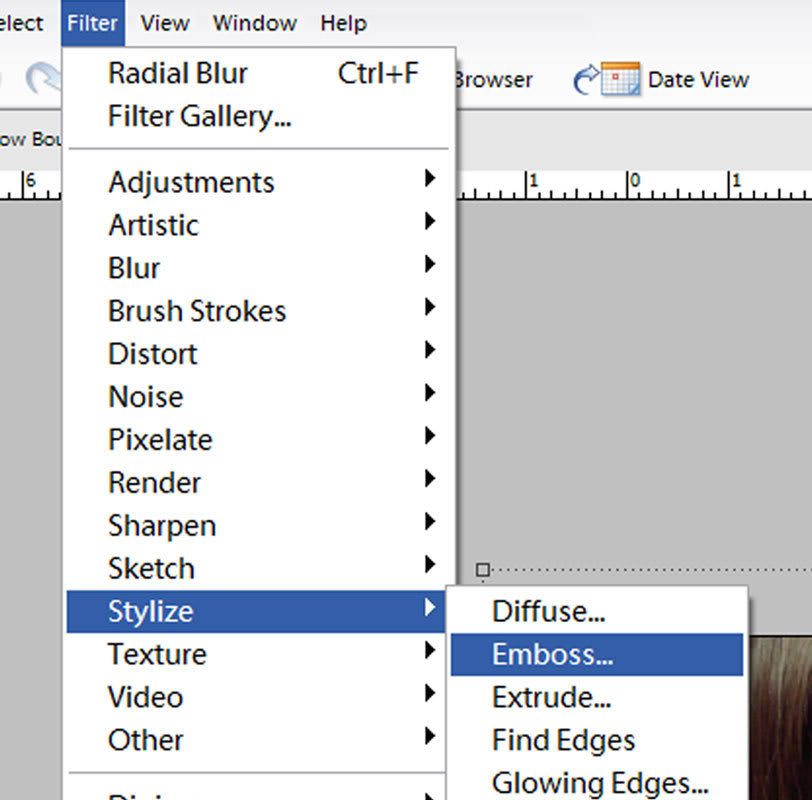
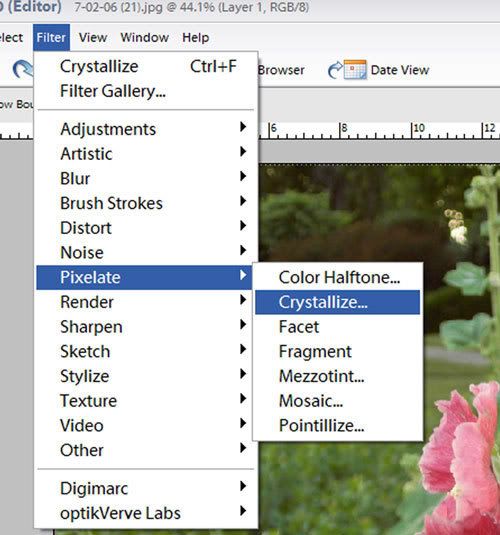
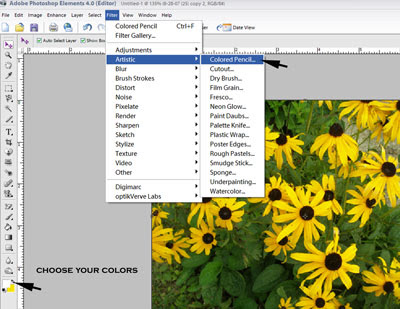
You can find this filter under filters, artistic, cutout.
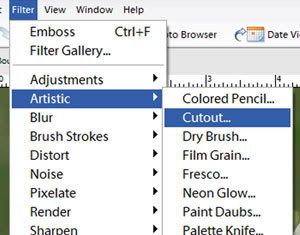
After clicking on cutout you have three adjustments to choose from, number of levels, edge simplicity and edge fidelity. You may need to play with these to get the desired effect.
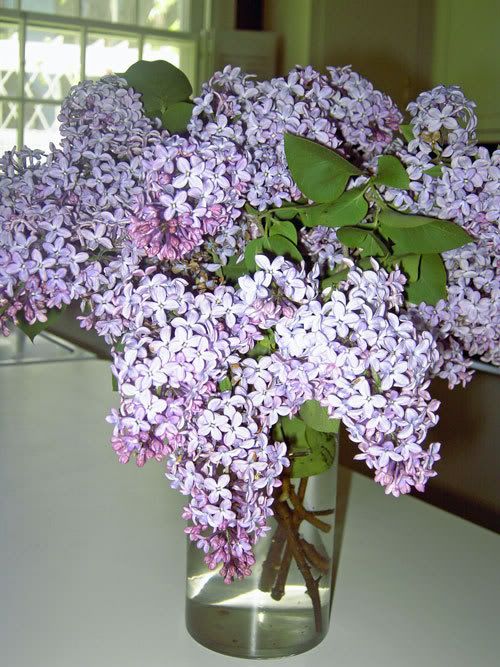
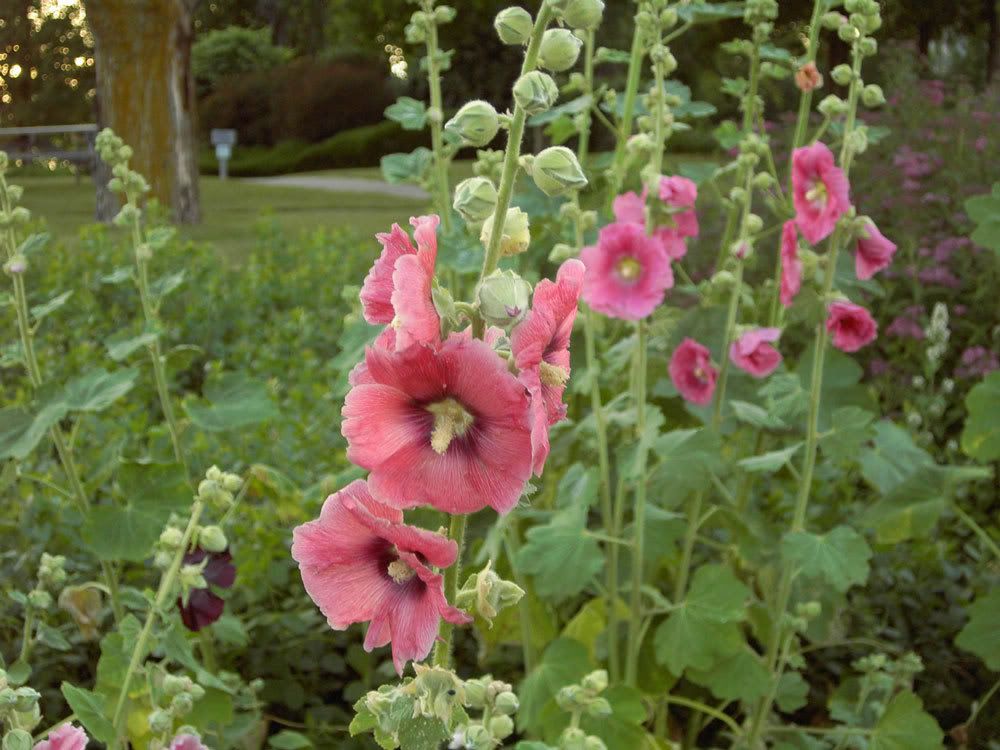
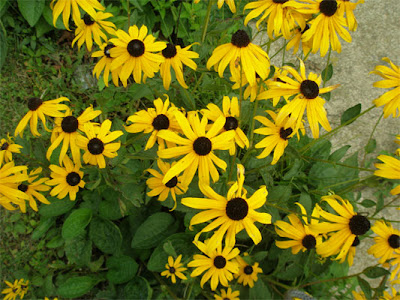
My original photo
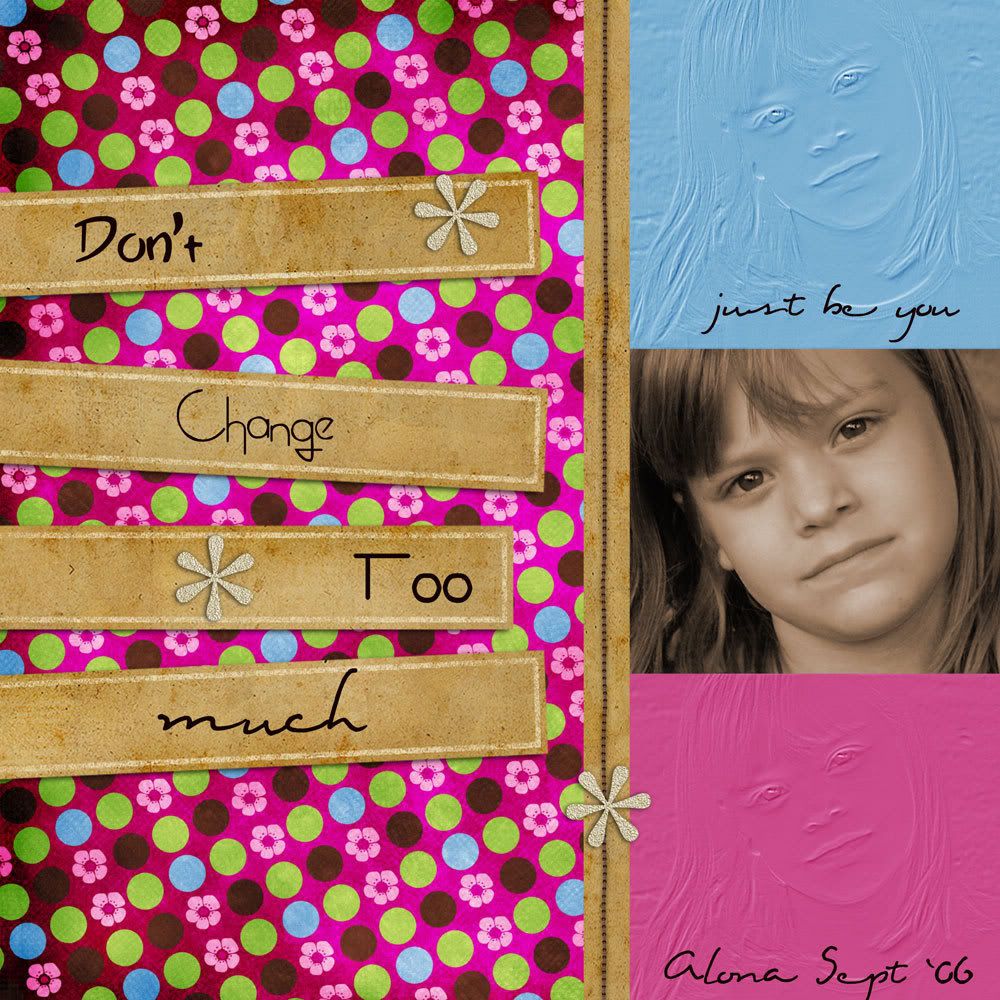
Here's a layout I created using my before and after photos.
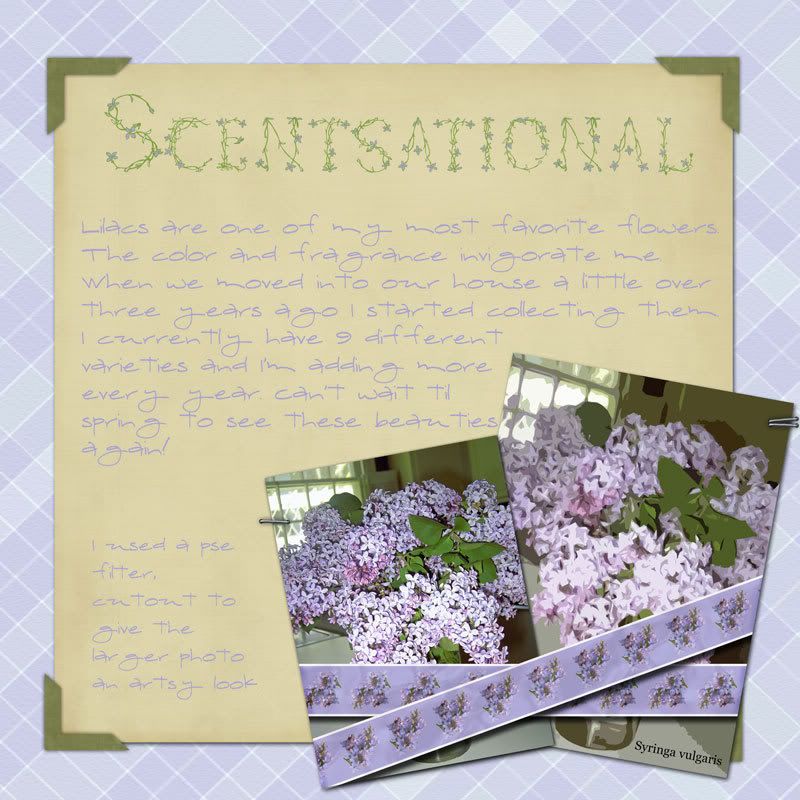
Journaling reads:
Lilacs are one of my most favorite flowers.The color and fragrance invigorate me. When we moved into our house a little over three years ago I started collecting them.I currently have 9 different varieties and I’m adding more every year. Can’t wait til spring to see these beauties again!
Credits: Everything is created by me. The font is florabetic
Want to join the challenge? Jump in anywhere any time time. Try the filter out if you like to share your masterpieces leave us a link in the comment section for that filter.
Have a great weekend!


 So go ahead and try it for yourself. If you would like to share what you came up with leave a comment with a link to your photo or layout.


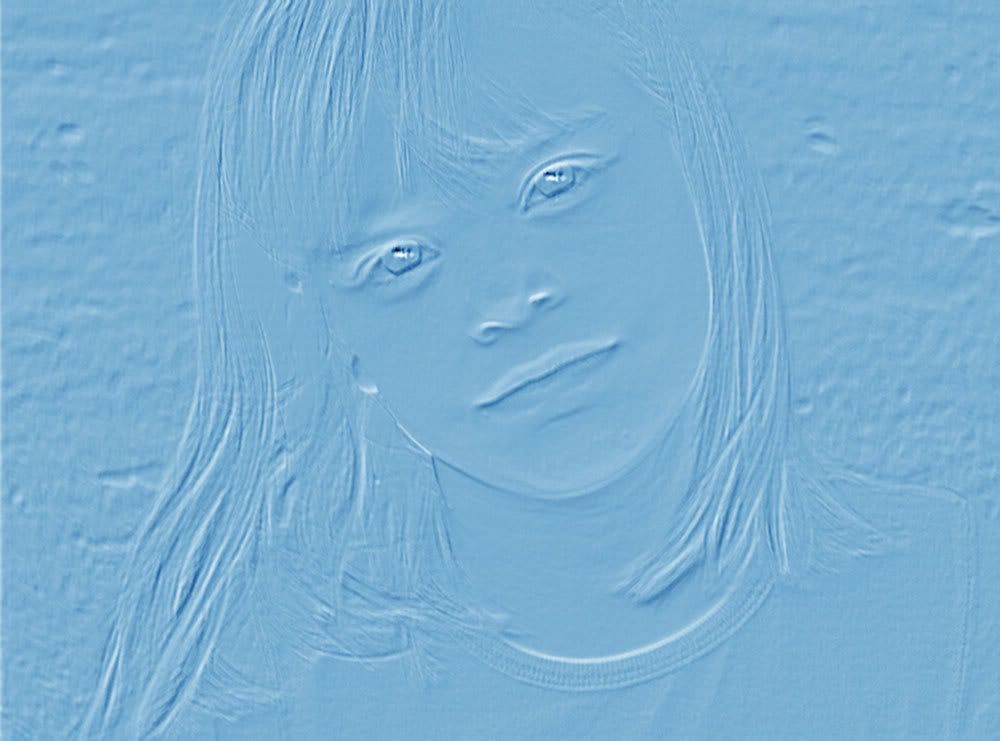
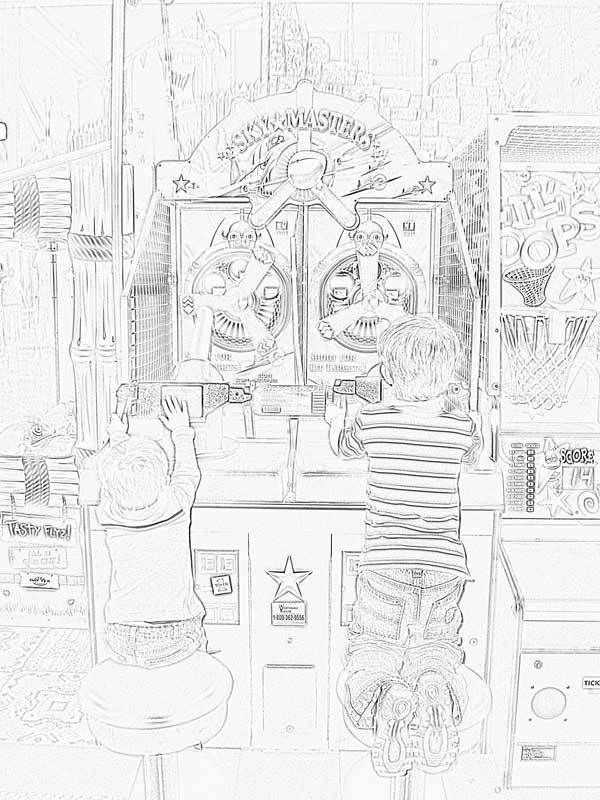
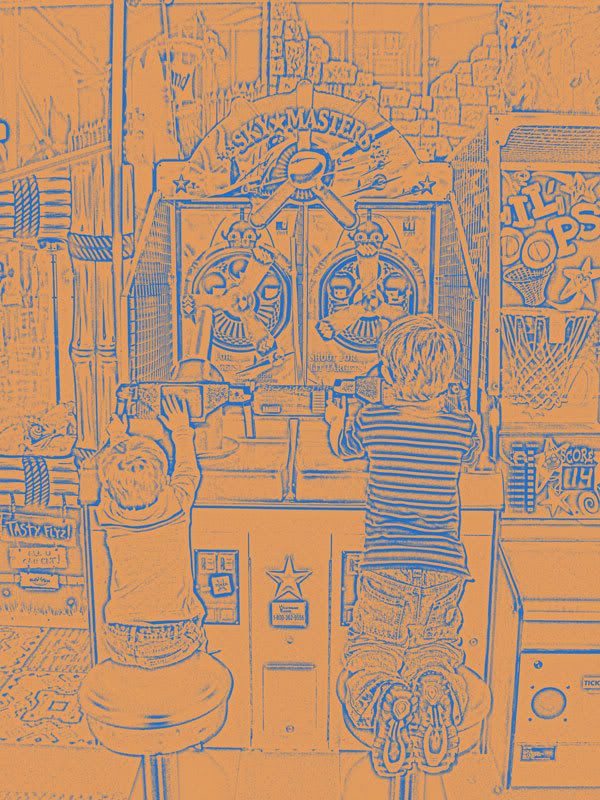
 Now the reason I choose black and white was because I really didn't like how the colored photos turned out. I didn't like how photos of people looked either. Which is why I chose this photo. However I had to try it one more time just to see.
 Trying this effect again I can see it would probably work better with close up shots. I realize this isn't the best photo. But now I know what to look for when choosing my next photo.


 My StumbleUpon Page