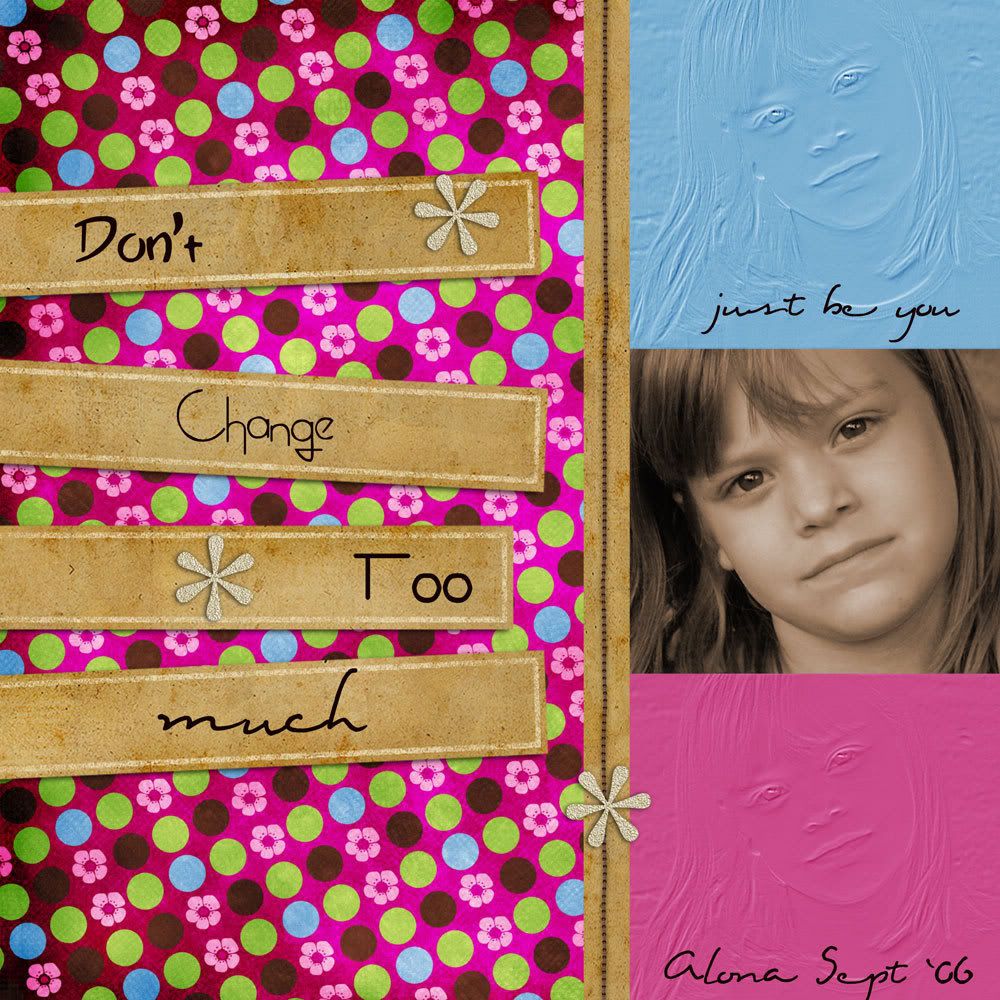
LO credits: paper and stitching from Emma part 5 by Amy W. Designs.

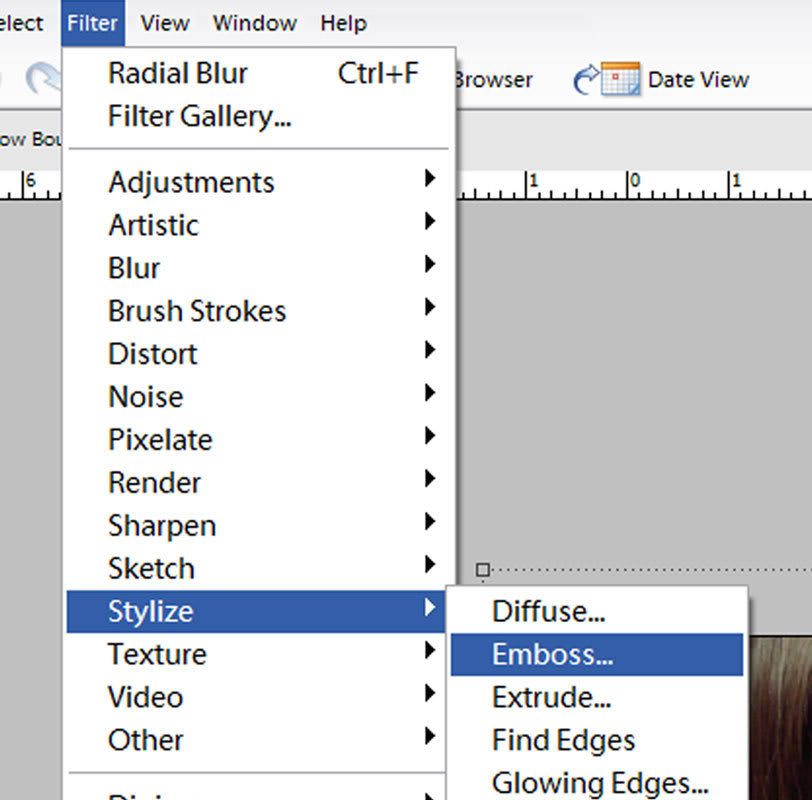
Once there you can decide the angle, height and amount of embossing.
I'm not that crazy with what you end up with.

I removed all color. For those of you who don't know how to do this go to enhance, adjust color, remove color. It took me a few weeks to find that when I first got pse. I couldn't believe there was no way to make a photo black and white until i found that button. You can also do this by going to enhance, adjust color, color variations, then click the circle that says saturation, desaturate to your liking.
I then changed the color of my photo by adjusting the color. You do this the same way you would to remove color but click on midtones instead of saturation. You can also change the color by adjusting the hue and saturation. Find it under enhance, adjust color, adjust hue and saturation. You will need to make sure colorize is checked.
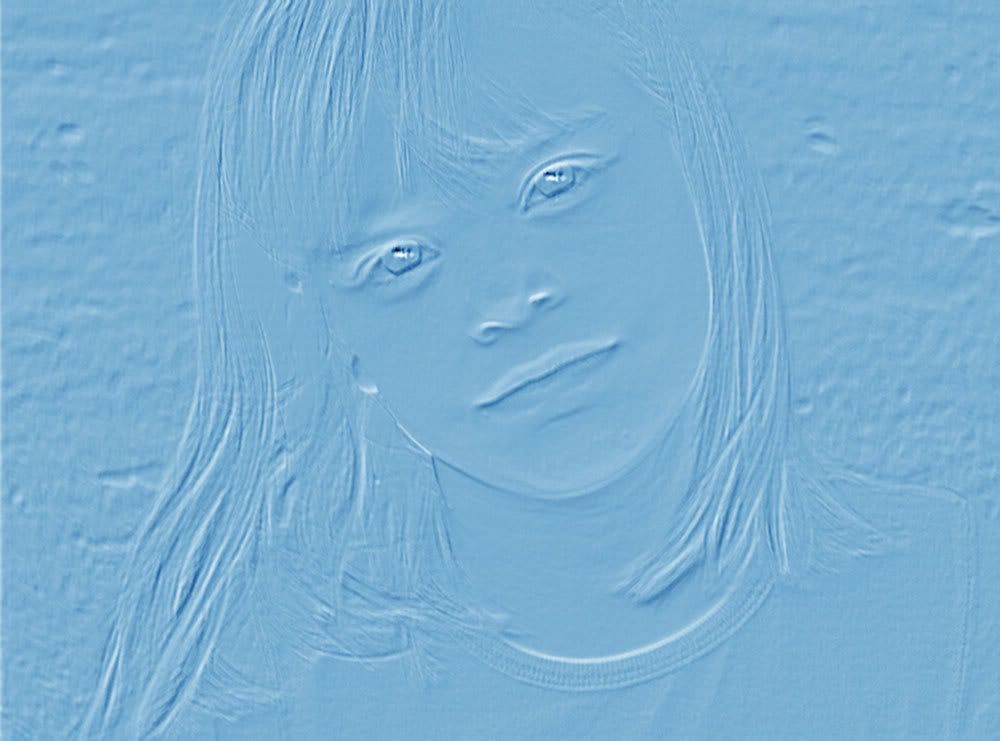
After I removed and added color I ended up with this.

The emboss filter can also be used for sharpening photos. Here is a link I found on that.
http://forums.dpreview.com/forums/read.asp?forum=1006&message=20935431
Want to join the challenge? Its easy, just try the filter out for yourself then post a photo or lo using your photo on your blog or gallery. then simply leave us a comment with a link so we can check it out. There are no deadlines jump in whenever you'd like!


 My StumbleUpon Page
1 comment:
I definitely will try this...
Thanks Rachel for the tips.
Post a Comment